4.1 KiB
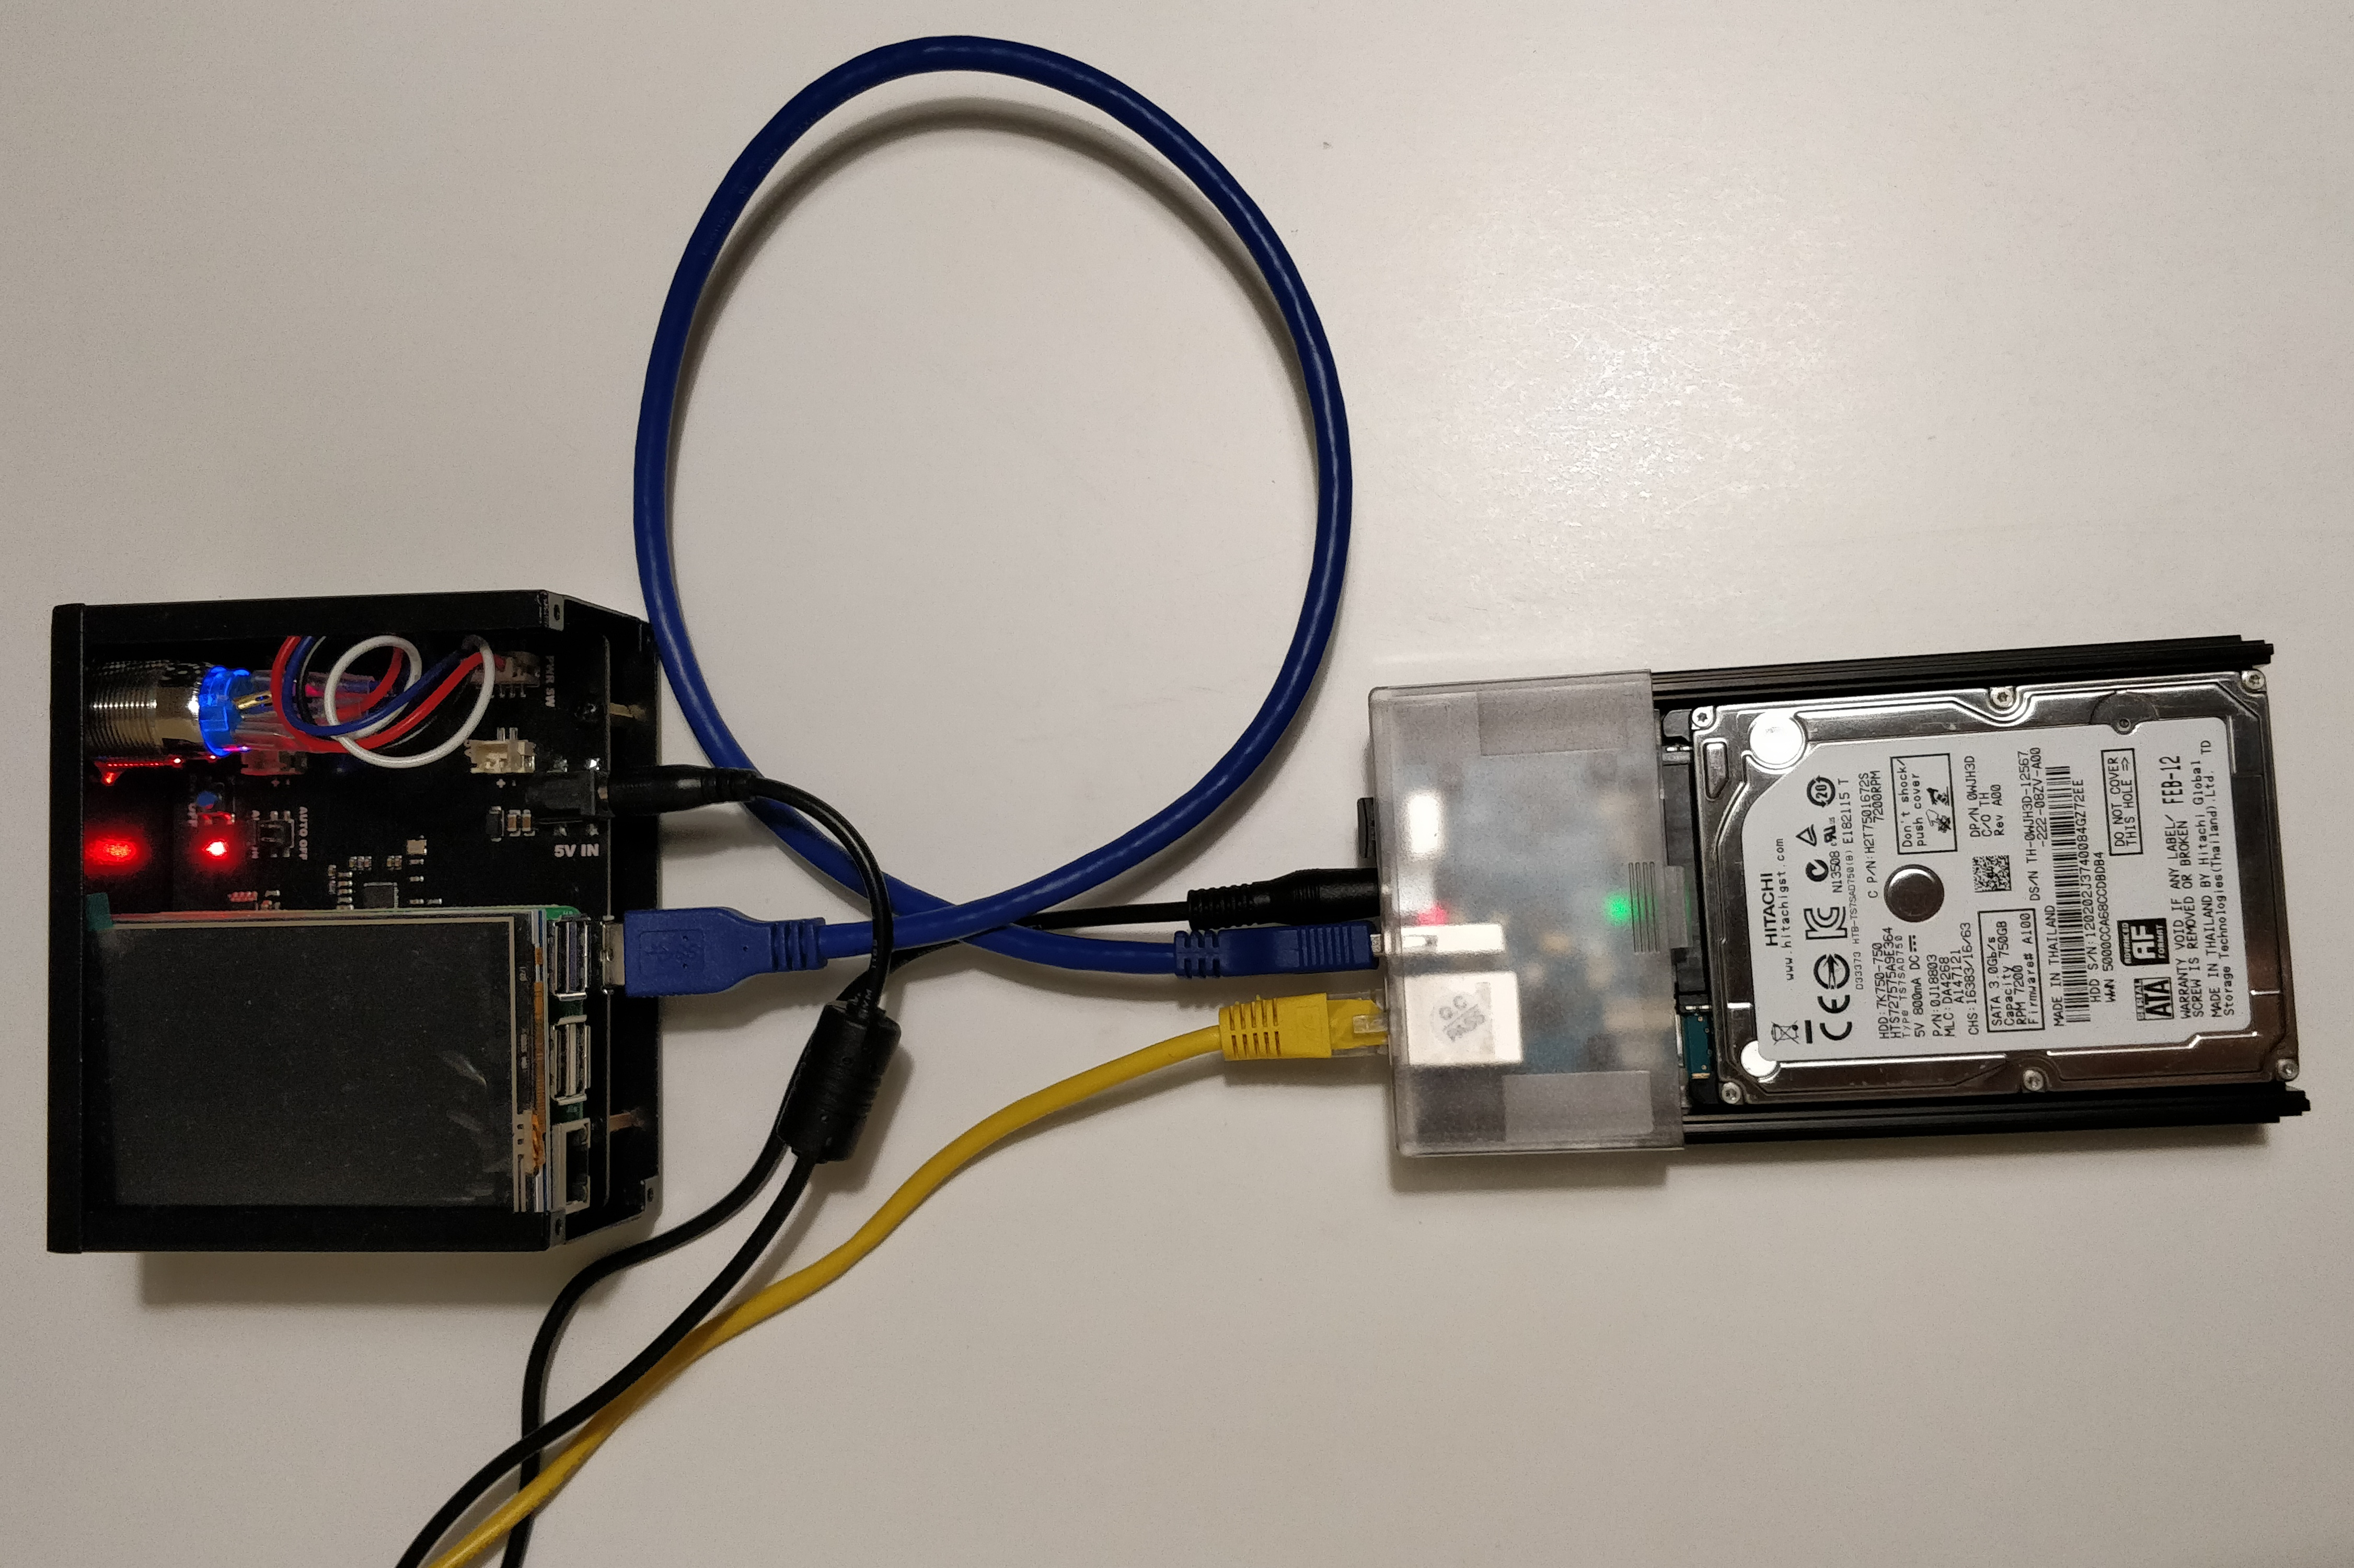
⚡️ this setup is tested on an ODroid HC1 ⚡️

there is no LCD, but the hardware specs make up for it.
Setting up the DietPi OS
Download this image:
https://dietpi.com/downloads/images/DietPi_OdroidXU4-ARMv7-Stretch.7z
and burn it to the SD with https://www.balena.io/etcher/
Getting started with DietPi: https://dietpi.com/phpbb/viewtopic.php?f=8&t=9#p9
On the desktop Linux terminal
ssh root@[IP-OF-DIETPI]
password: dietpi
Ok > Cancel the recovery point
Ok > Cancel > Cancel
automatic apt update & apt upgrade on first logon and reboots
Opt out of survey > Ok > Ok
ssh root@[IP-OF-DIETPI]
@@@@@@@@@@@@@@@@@@@@@@@@@@@@@@@@@@@@@@@@@@@@@@@@@@@@@@@@@@@ @ WARNING: REMOTE HOST IDENTIFICATION HAS CHANGED! @ @@@@@@@@@@@@@@@@@@@@@@@@@@@@@@@@@@@@@@@@@@@@@@@@@@@@@@@@@@@
run (can be copied from the terminal output):
ssh-keygen -f "/home/[your-linux-username]/.ssh/known_hosts" -R "dietpi.IP"
ssh root@[IP-OF-DIETPI]
yes >
password: dietpi
At this point if the DietPi was not updated from 6.14 it does not manage to save settings going forward.
Exit with CTRL + C and run
dietpi-update
update continue after the reboot.
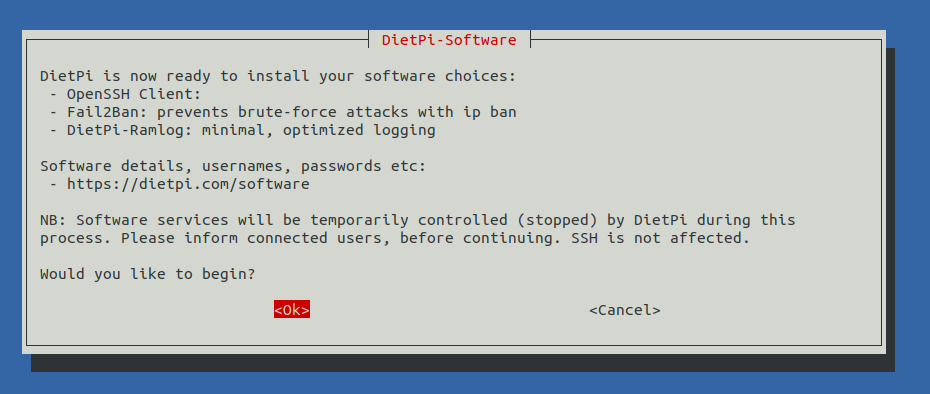
Ok > Cancel > Cancel
Searchfail2ban> Space to select > Enter
Searchopenssh> Space to select OpenSSH Client > Enter
Install > Ok
Opt out of survey > Ok
Reboots again
ssh root@[IP-OF-DIETPI]
Should end up here on version v6.20.6 or higher:

run the SDcard build script in this format:
wget https://raw.githubusercontent.com/[GITHUB-USERNAME]/raspiblitz/[BRANCH]/build.sdcard/raspbianStretchDesktop.sh && sudo bash raspbianStretchDesktop.sh [BRANCH] [GITHUB-USERNAME]
Be aware of that the fork needs to be called raspiblitz for the git download to work.
if you intend to use @openoms`s forked version:
wget https://raw.githubusercontent.com/openoms/raspiblitz/raspiblitz-dev/build.sdcard/raspbianStretchDesktop.sh && sudo bash raspbianStretchDesktop.sh raspiblitz-dev openoms
See my example output: sdcard_build_output
ssh admin@[IP-OF-DROIDBLITZ]
password: raspiblitz
The setup continues as described in the RaspiBlitz setup README.md
Example of setting up a RaspiBlitz HDD to be copied to the ODroid:

Useful commands for debugging:
tail -n1000 -f/var/tmp/dietpi/logs/dietpi-automation_custom_script.log follow startup setup script log
lsblk see the partitions
tail -n1000 -f raspiblitz.log - debug logs of bootstrap.sh
sudo tail -f /mnt/hdd/bitcoin/debug.log - continuous monitoring
sudo tail -n100 /mnt/hdd/bitcoin/debug.log - shows the last 100 lines
sudo systemctl status lnd
sudo journalctl -f -u lnd
./home/admin/XXdebugLogs.sh - debug log collection on the raspiblitz
Automate installation with the dietpi.txt
Need to copy to SDcard /boot/dietpi.txt after burning the image with Etcher. IMPORTANT:
- Modifications to /boot/dietpi.txt will not be preserved on reboot.
- Please ensure you edit from the DietPi-RAMdisk location: /DietPi/dietpi.txt NB: This is intended for advanced users, unless you know what you are doing, do not edit this file. ease use the DietPi programs instead. NB: Do not remove uncommented lines, as the items are scraped by DietPi programs, on demand. DietPi-Automation settings, applied on the 1st boot of DietPi, ONCE Sample: https://github.com/Fourdee/DietPi/blob/master/dietpi.txt
Custom Script (post-networking and post-DietPi install)
Runs after DietPi installation is completed
Allows you to automatically execute a custom script at the end of DietPi installation.
Option 1 = Copy your script to /boot/Automation_Custom_Script.sh and it will be executed automatically.
Option 2 = Host your script online, then use AUTO_SETUP_CUSTOM_SCRIPT_EXEC=http://myweb.com/myscript.sh, it will be downloaded and executed automatically. | 0=disabled
NB: Executed script log /var/tmp/dietpi/logs/dietpi-automation_custom_script.log