* simon/cpfp-frontend: (46 commits) Bugfix: Don't extend already extended transactions to not override the firstSeen property. fixes #390 Shuffle mempool transactions before saving disk cache. (#398) Adding missing return after expressjs response. CPFP support (#395) Round sat/vB in fee rating tooltip. fixes #364 Add the GNU AGPLv3 logo to About page Update package.json license tags Add recommended fee percentile config (#394) Fix typo in README (#392) Fix icon for Specter Wallet on About page Add link to Specter Wallet on our About page Add link to WARden Portfolio app as Community Integration on About page Delete MIT+CC license from Terms of Service, add AGPLv3 to About page Change mempool project license to GNU Affero General Public License v3 Lower volume for sound effects (#385) Improve grammar, layout, and formatting of Terms of Service page Display all Project Contributors on About page using GitHub API (#382) Modify nginx.conf to cache HTML for 10m and static resources for 1h Proxy /api/v1/contributors from mempool.space, also fix HTTP headers Add link to Bisq's GitHub repo on About page ... |
||
|---|---|---|
| .github | ||
| backend | ||
| docker | ||
| frontend | ||
| production | ||
| .gitattributes | ||
| .gitignore | ||
| COPYING | ||
| LICENSE | ||
| mariadb-structure.sql | ||
| nginx-mempool.conf | ||
| nginx.conf | ||
| README.md | ||
The Mempool Open Source Project
Mempool is the fully featured visualizer, explorer, and API service running on mempool.space, an open source project developed and operated for the benefit of the Bitcoin community, with a focus on the emerging transaction fee market to help our transition into a multi-layer ecosystem.
Installation Methods
Mempool can be self-hosted on a wide variety of your own hardware, ranging from a simple one-click installation on a Raspberry Pi distro, all the way to an advanced high availability cluster of powerful servers for a production instance. We support the following installation methods, ranked in order from simple to advanced:
- One-click installation on: Umbrel, RaspiBlitz, RoninDojo, or MyNode.
- Docker installation on Linux using docker-compose
- Manual installation on Linux or FreeBSD
- Production installation on a powerful FreeBSD server
- High Availability cluster using powerful FreeBSD servers
Manual Installation
The following instructions are for a manual installation on Linux or FreeBSD. The file and directory paths may need to be changed to match your OS.
Dependencies
- Bitcoin Core (no pruning, txindex=1)
- Electrum Server (romanz/electrs)
- NodeJS (official stable LTS)
- MariaDB (default config)
- Nginx (use supplied nginx.conf and nginx-mempool.conf)
Mempool
Clone the mempool repo, and checkout the latest release tag:
  git clone https://github.com/mempool/mempool
  cd mempool
  latestrelease=$(curl -s https://api.github.com/repos/mempool/mempool/releases/latest|grep tag_name|head -1|cut -d '"' -f4)
  git checkout $latestrelease
Bitcoin Core (bitcoind)
Enable RPC and txindex in bitcoin.conf:
  rpcuser=mempool
  rpcpassword=71b61986da5b03a5694d7c7d5165ece5
  txindex=1
MySQL
Install MariaDB from OS package manager:
  # Linux
  apt-get install mariadb-server mariadb-client

  # macOS
  brew install mariadb
  brew services start mariadb
Create database and grant privileges:
  MariaDB [(none)]> drop database mempool;
  Query OK, 0 rows affected (0.00 sec)

  MariaDB [(none)]> create database mempool;
  Query OK, 1 row affected (0.00 sec)

  MariaDB [(none)]> grant all privileges on mempool.* to 'mempool'@'%' identified by 'mempool';
  Query OK, 0 rows affected (0.00 sec)
From the mempool repo's top-level folder, import the database structure:
mysql -u mempool -p mempool < mariadb-structure.sql
Mempool Backend
Install mempool dependencies from npm and build the backend:
  # backend
  cd backend
  npm install
  npm run build
In the backend folder, make a copy of the sample config and modify it to fit your settings.
cp mempool-config.sample.json mempool-config.json
Edit mempool-config.json to add your Bitcoin Core node RPC credentials:
{
  "MEMPOOL": {
    "NETWORK": "mainnet",
    "BACKEND": "electrum",
    "HTTP_PORT": 8999,
    "API_URL_PREFIX": "/api/v1/",
    "POLL_RATE_MS": 2000
  },
  "CORE_RPC": {
    "USERNAME": "mempool",
    "PASSWORD": "71b61986da5b03a5694d7c7d5165ece5"
  },
  "ELECTRUM": {
    "HOST": "127.0.0.1",
    "PORT": 50002,
    "TLS_ENABLED": true,
  },
  "DATABASE": {
    "ENABLED": true,
    "HOST": "127.0.0.1",
    "PORT": 3306,
    "USERNAME": "mempool",
    "PASSWORD": "mempool",
    "DATABASE": "mempool"
  },
  "STATISTICS": {
    "ENABLED": true,
    "TX_PER_SECOND_SAMPLE_PERIOD": 150
  }
}
Start the backend:
npm run start
When it's running you should see output like this:
  Mempool updated in 0.189 seconds
  Updating mempool
  Mempool updated in 0.096 seconds
  Updating mempool
  Mempool updated in 0.099 seconds
  Updating mempool
  Calculated fee for transaction 1 / 10
  Calculated fee for transaction 2 / 10
  Calculated fee for transaction 3 / 10
  Calculated fee for transaction 4 / 10
  Calculated fee for transaction 5 / 10
  Calculated fee for transaction 6 / 10
  Calculated fee for transaction 7 / 10
  Calculated fee for transaction 8 / 10
  Calculated fee for transaction 9 / 10
  Calculated fee for transaction 10 / 10
  Mempool updated in 0.243 seconds
  Updating mempool
Mempool Frontend
Install mempool dependencies from npm and build the frontend static HTML/CSS/JS:
  # frontend
  cd frontend
  npm install
  npm run build
Install the output into nginx webroot folder:
sudo rsync -av --delete dist/mempool/ /var/www/html/
nginx + certbot
Install the supplied nginx.conf and nginx-mempool.conf in /etc/nginx
  # install nginx and certbot
  apt-get install -y nginx python-certbot-nginx

  # install the mempool configuration for nginx
  cp nginx.conf nginx-mempool.conf /etc/nginx/nginx.conf

  # replace example.com with your domain name
  certbot --nginx -d example.com
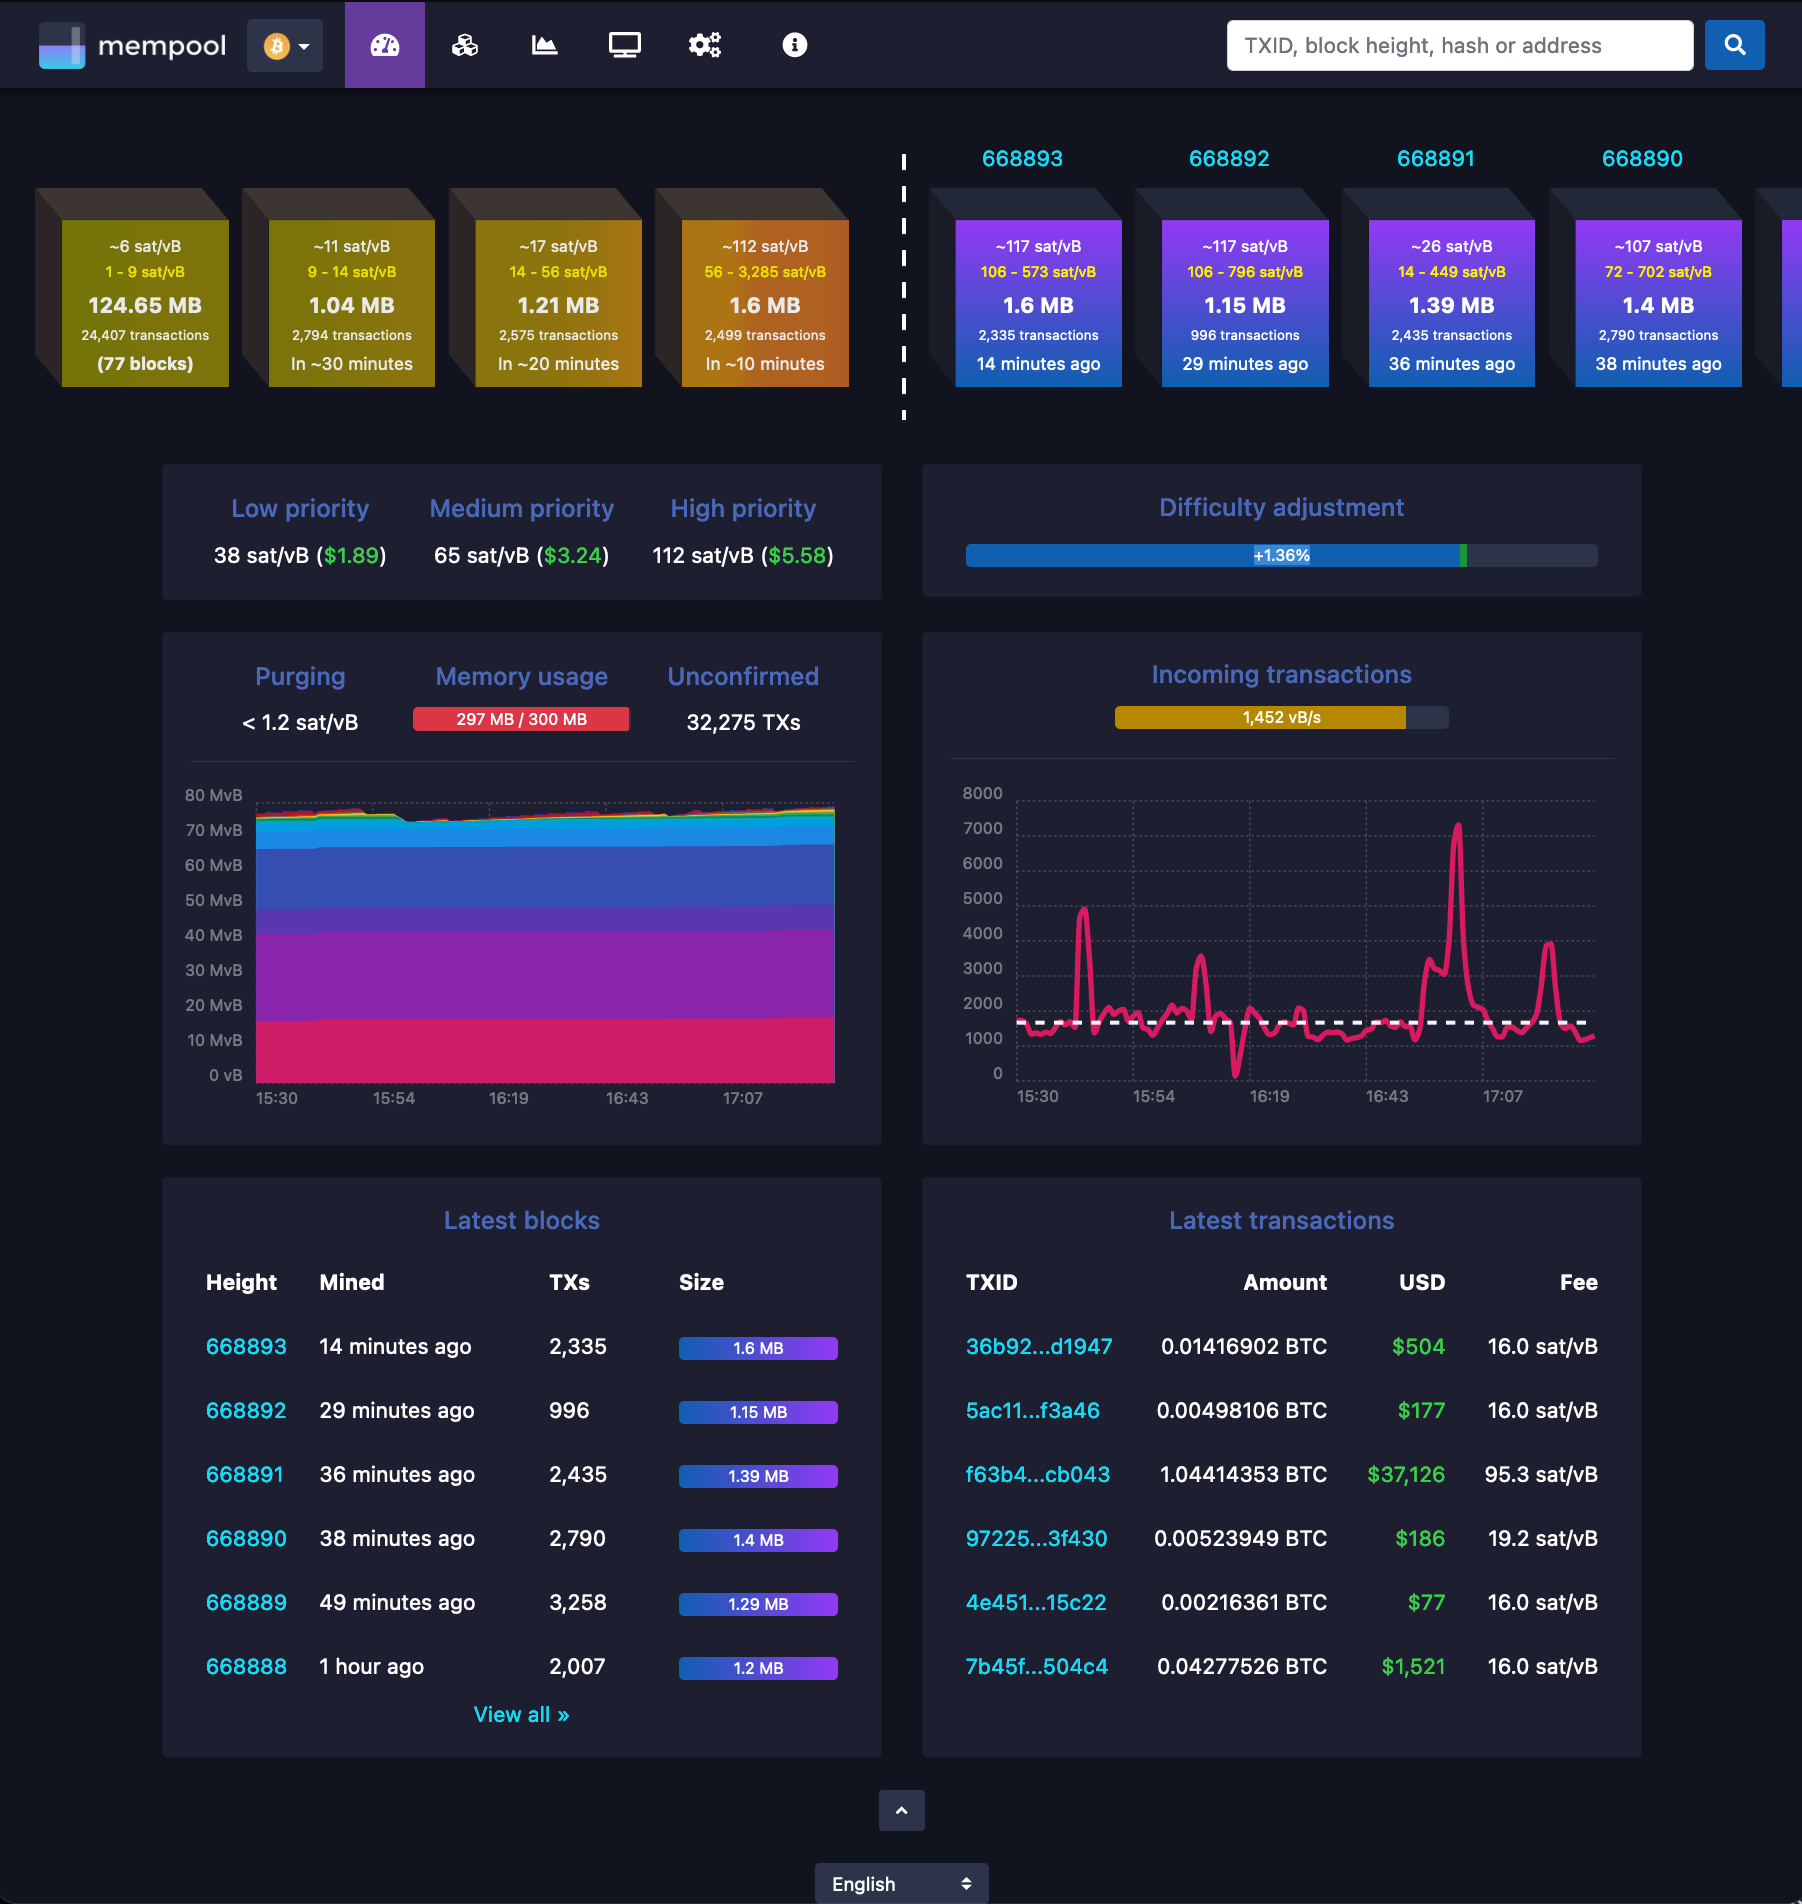
If everything went okay you should see the beautiful mempool 😁
If you get stuck on "loading blocks", this means the websocket can't connect. Check your nginx proxy setup, firewalls, etc. and open an issue if you need help.